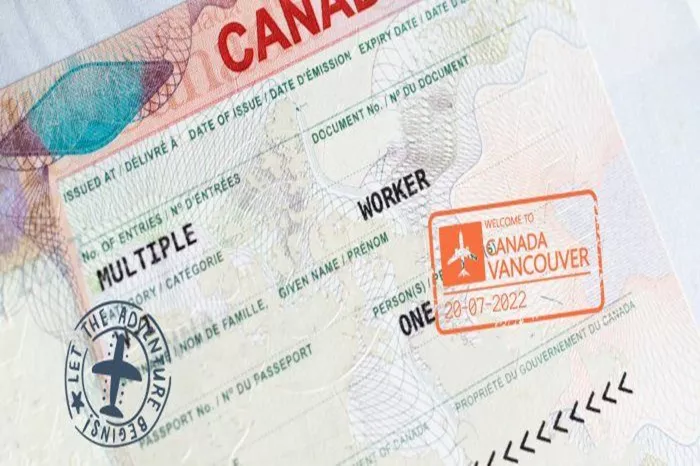
If you’re planning to travel, study, or work in Canada, one of the final and most crucial steps in your visa journey is getting your visa stamped. Canada visa stamping refers to the process where a visa is physically placed into your passport, allowing you to enter the country legally. This step occurs after your application has been approved, and while it sounds simple, it involves several steps and can take time depending on a variety of factors. This article will walk you through the complete process, explain what affects processing time, and provide practical tips to help make the process smoother and faster.
General Processing Time
The time it takes for Canada visa stamping can vary depending on several key factors: the type of visa you’ve applied for, your location, and the service channel through which you submit your passport.
Typical Processing Time
VFS Global Services: If you’re submitting your passport through a Visa Application Centre (VAC) like VFS Global, which is the case for many applicants from countries such as India, the UAE, Nigeria, and the Philippines, the stamping process typically takes 5 to 7 business days from the time your passport reaches the visa office.
Direct Submission to Canadian Embassy: If you’re submitting your passport directly to a Canadian Embassy or Consulate, the timeline can range from 7 to 15 business days, sometimes more depending on local operations and peak travel seasons.
Courier Time: You should also factor in additional days for courier service to and from the visa center, which can take another 2–5 business days depending on your location.
For example, an applicant in New Delhi might expect the entire process (including mailing time) to take around 10–12 calendar days.
Factors Affecting Processing Time
Several variables can influence how quickly your visa is stamped and your passport returned.
1. Time of Year
Peak travel seasons, such as summer holidays (June–August) or the start of the academic year (August–September), often lead to longer wait times due to increased application volumes.
2. Location and Local Operations
Each visa office operates independently. Some offices process documents faster than others. For example, processing in the US may be faster than in Pakistan or Bangladesh, depending on workload and staffing levels.
3. Completeness of Application
If your passport package is missing documents or information, your application could be delayed. Always include the correct forms, two copies of the passport request letter (if applicable), and a return envelope with a tracking number.
4. Transportation and Courier Delays
Delays with courier services, customs, or postal systems can add unexpected time. It’s best to use a reliable courier with tracking services.
5. Security Checks or Random Reviews
Some applications are flagged for additional security reviews. While rare, this can increase processing time by several days or even weeks.
Steps in the Canada Visa Stamping Process
Here’s a breakdown of the key stages involved in visa stamping:
1. Receive Passport Request (PPR)
After your visa is approved, you’ll receive a Passport Request (PPR) letter via your online account or email. This letter contains instructions for submitting your passport.
2. Submit Your Passport
Follow the instructions in the PPR letter carefully. You’ll either submit your passport through VFS Global or directly to the Canadian Embassy.
What to include:
- Your original passport
- A copy of the PPR letter
- Two recent passport-size photographs (if requested)
- A completed consent form (if using VFS)
- The VAC fee receipt
- A pre-paid return envelope with tracking (if required)
3. Visa Stamping by Canadian Authorities
Once your passport reaches the visa office, it is processed for stamping. This involves verifying the visa type, duration, and matching it to your application records. If everything is correct, the visa is printed and placed in your passport.
4. Return of the Passport
After stamping, your passport is sent back to you via courier. You’ll receive a tracking number to monitor its return. If you submitted in person, you may be asked to pick it up or receive it via mail.
Tips for Applicants
Here are some key tips to ensure your visa stamping process goes smoothly:
1. Apply Early
Don’t wait until the last minute. Apply as soon as you receive your PPR letter. This is especially important if you have a fixed travel or academic deadline.
2. Double-Check Documents
Verify that your documents are complete. Missing photos, incomplete forms, or errors on your return envelope can cause delays.
3. Track Your Package
Always use a courier that provides tracking for both submission and return. This gives you peace of mind and allows you to follow your passport’s journey.
4. Stay Updated
Check the VFS Global or Canadian visa office website regularly for updates, especially if you’re applying from a region with known delays or changes in service.
5. Be Prepared for Delays
Have a backup plan if your stamping takes longer than expected. Avoid booking non-refundable tickets or committing to fixed travel plans until your passport is in hand.
6. Stay Calm and Patient
It’s natural to feel anxious, but the process is usually smooth if you’ve followed instructions properly. If there’s a delay, reach out to the visa center or embassy using your tracking information.
Conclusion
Canada visa stamping is the final checkpoint before you can officially pack your bags and head off to the Great White North. While the actual stamping process usually takes around 5 to 15 business days, the total time can vary based on where you are, how you submit your documents, and the time of year. By understanding the process, staying organized, and keeping up with official updates, you can ensure a smoother experience.
Whether you’re heading to Canada for school, work, or adventure, getting your visa stamped is the exciting last step before your journey begins. Make sure to plan ahead, stay informed, and be patient—it’s worth the wait!

